
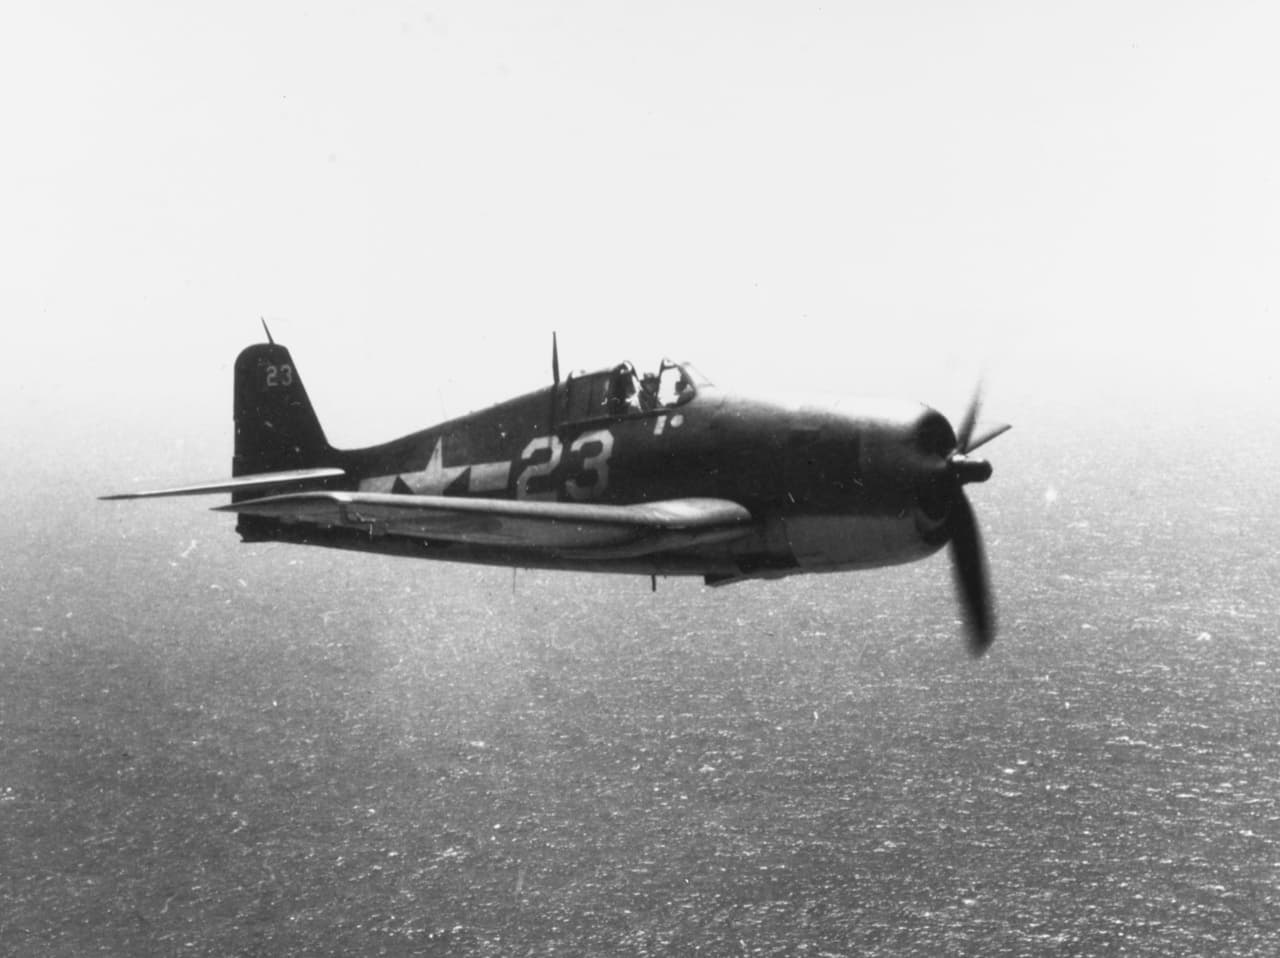
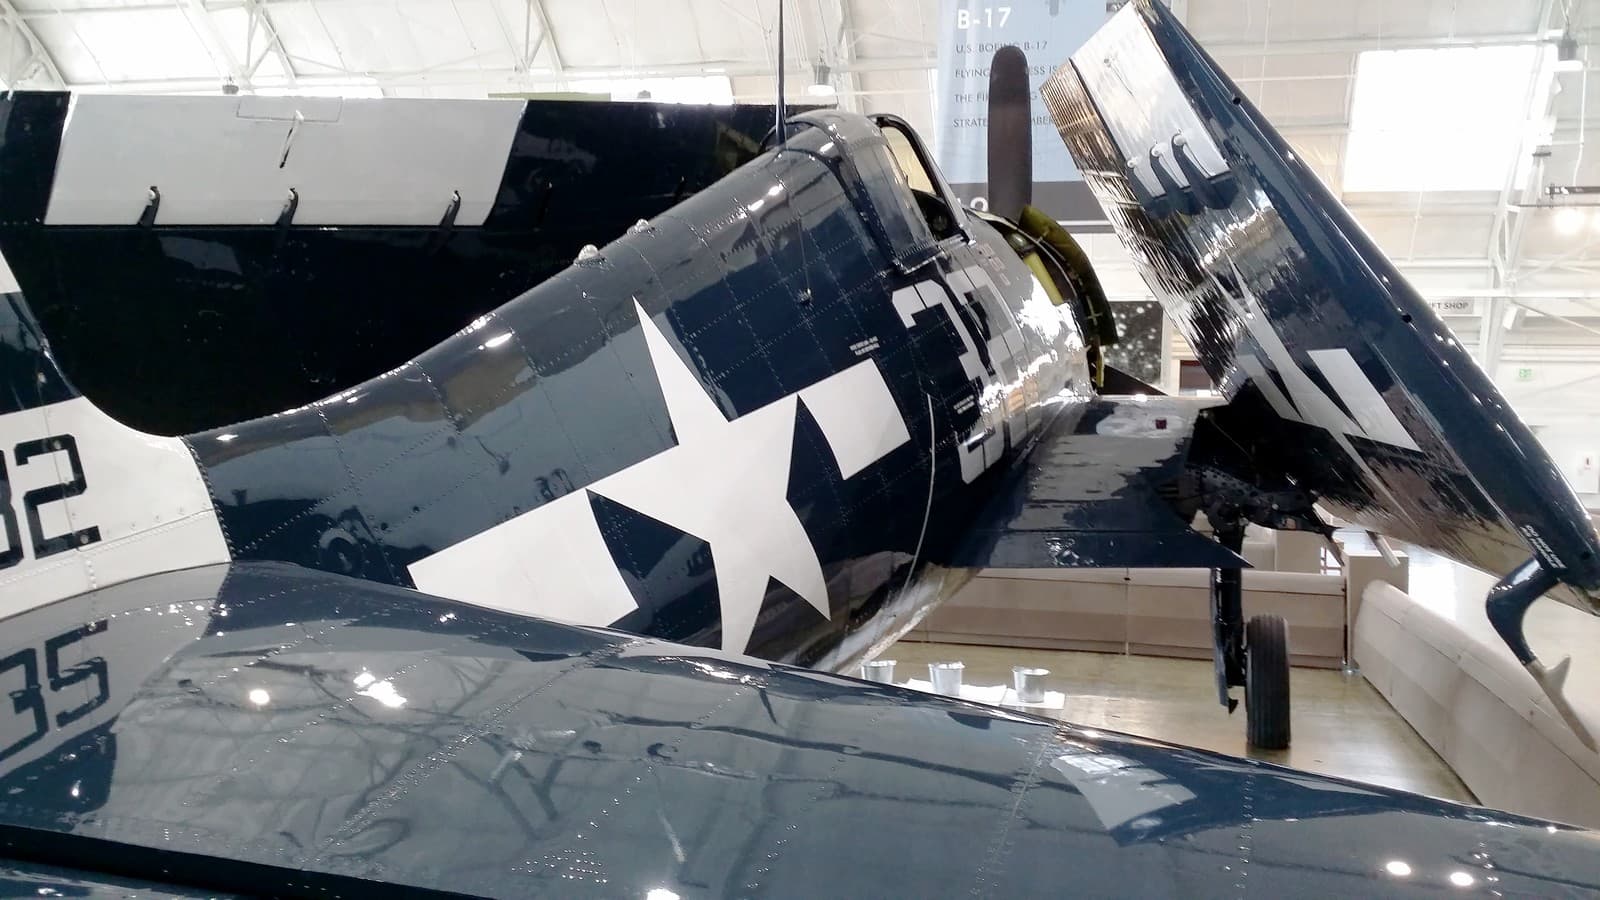
Grumman F6F-5 Hellcat
Grumman
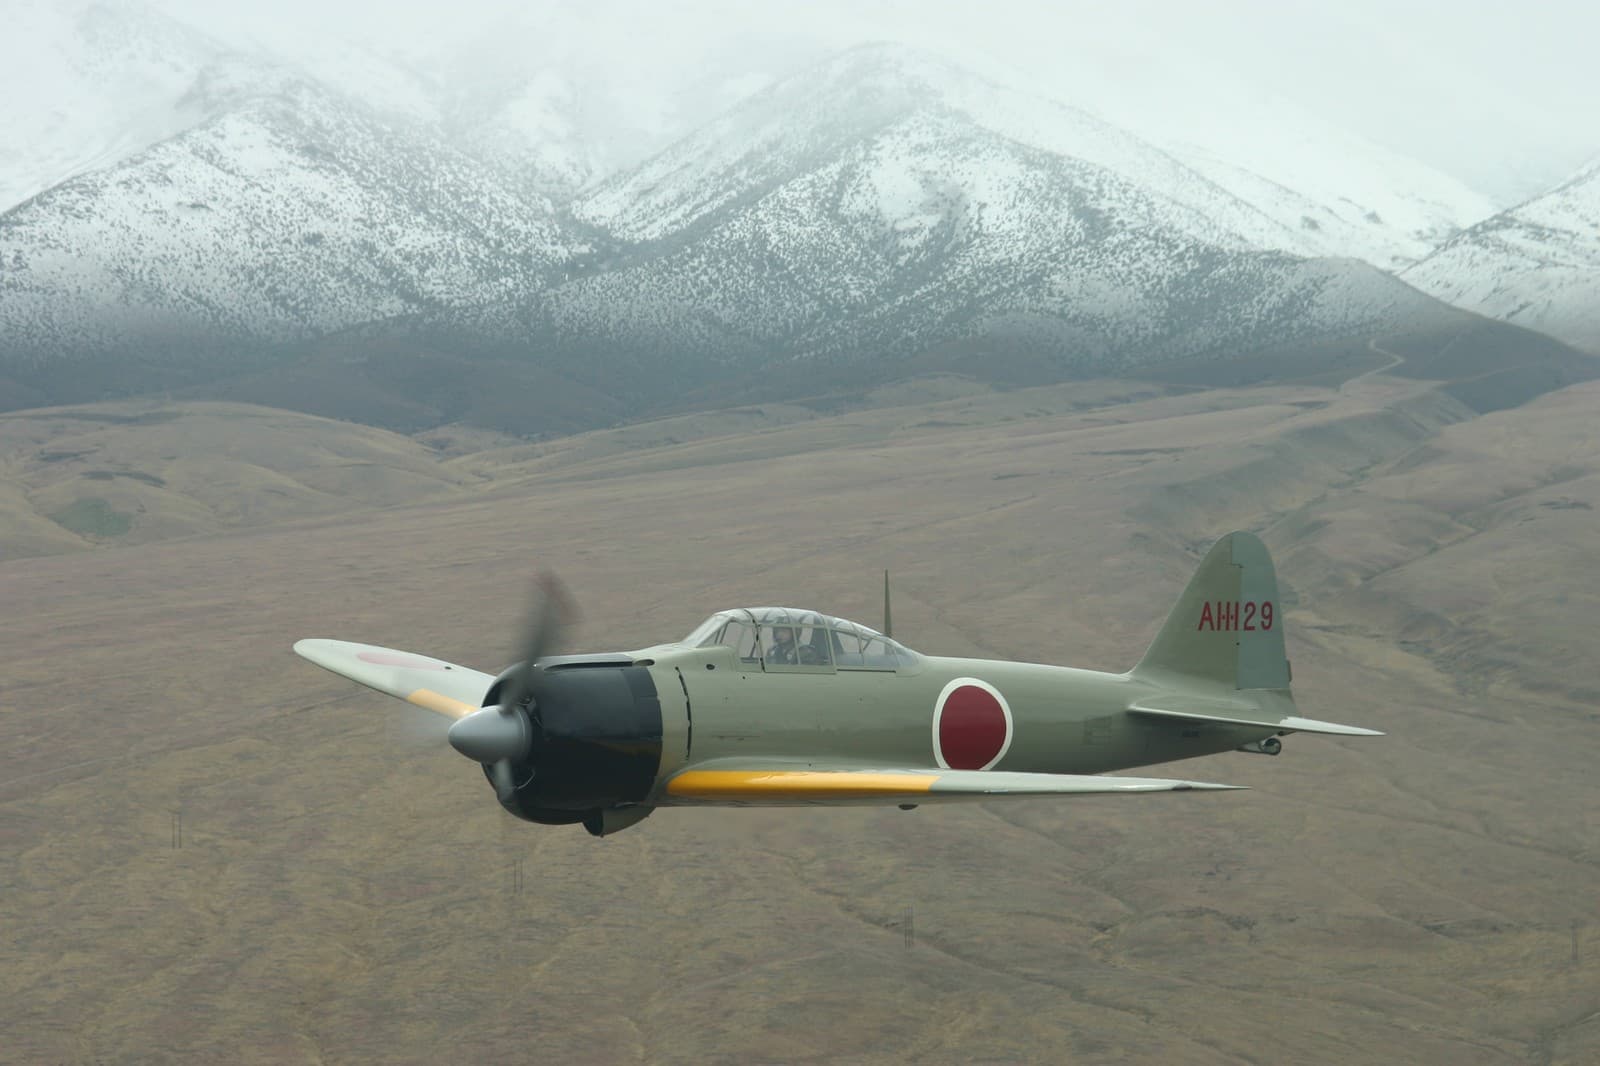
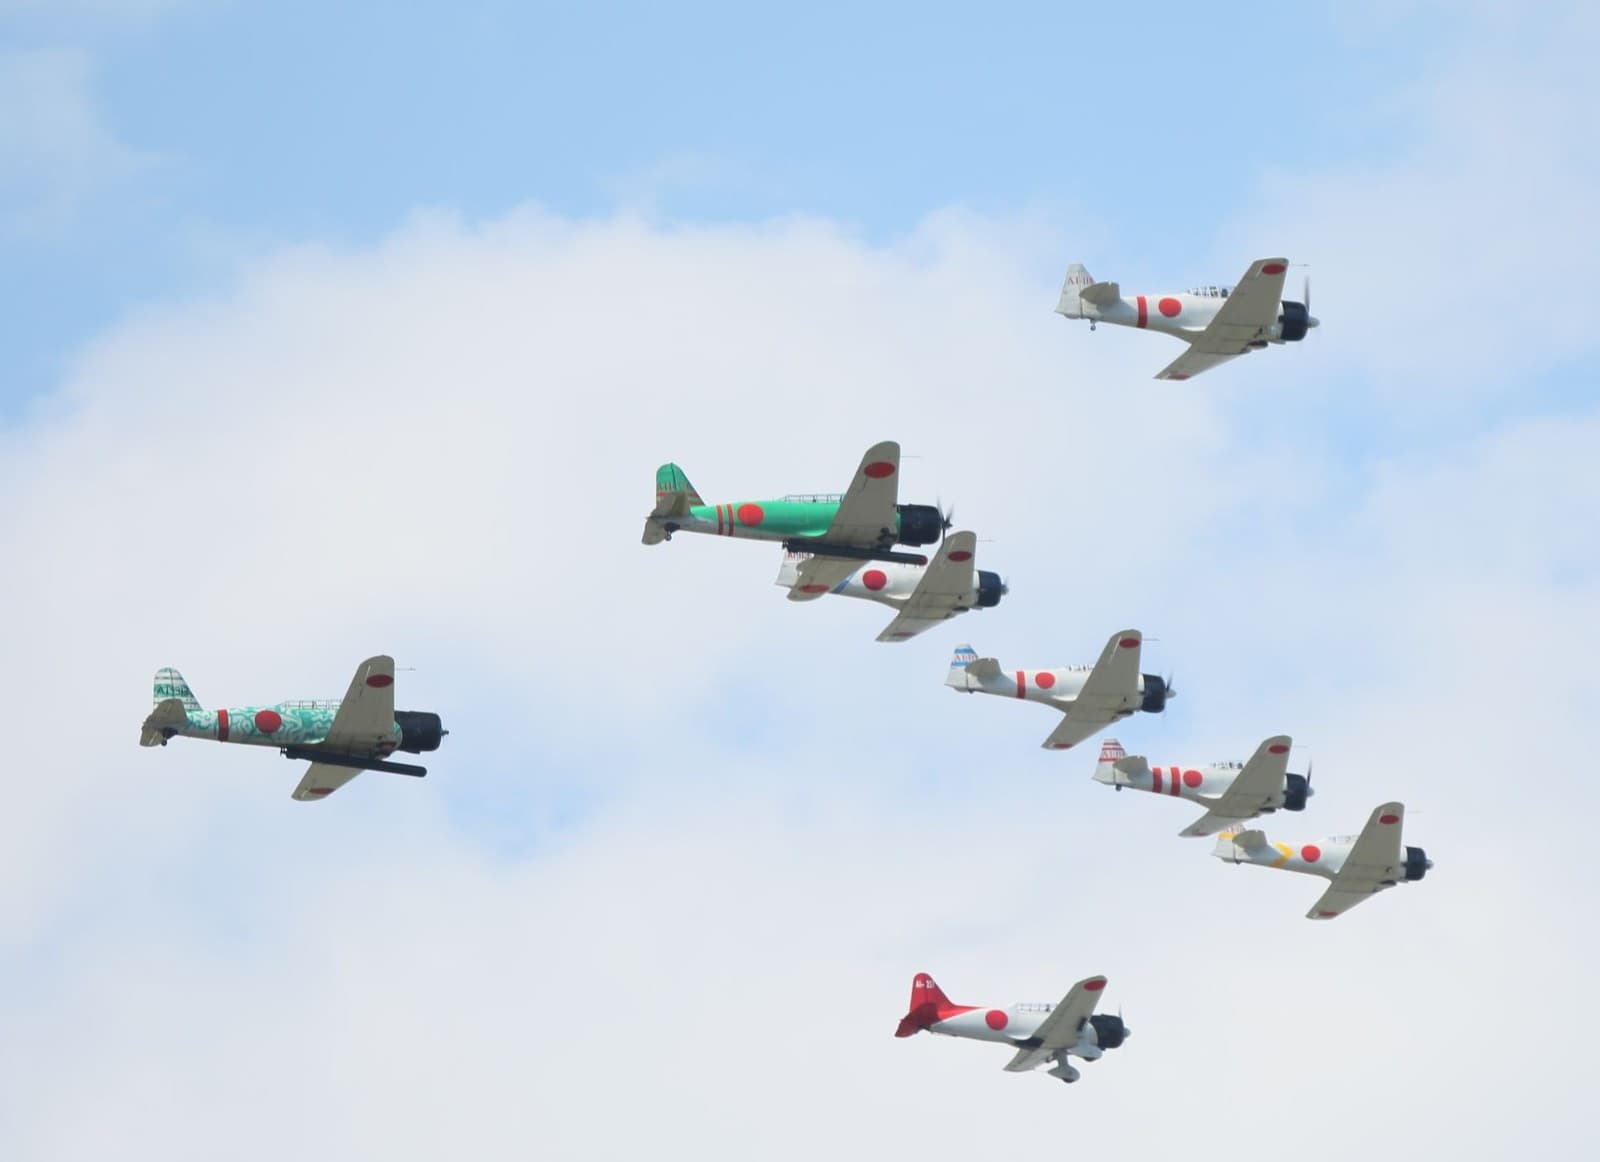
Mitsubishi A6M5 Type 0 Carrier Fighter
Mitsubishi
F6F-5 Hellcat vs A6M Zero
The Pacific hunter that broke the legend of the Zero
The Bottom Line
The F6F Hellcat was specifically designed to defeat the Zero and succeeded comprehensively, a 19:1 kill ratio tells the definitive story of American engineering answering Japanese excellence.
Who Wins Each Scenario?
Low-speed turning dogfight (below 200 knots)
A6M5
The Zero's extraordinary low-speed maneuverability makes it dominant in a slow turning fight. But trained Hellcat pilots were forbidden from entering this regime, making this a theoretical rather than practical advantage.
High-speed energy fight (above 250 knots)
F6F-5
The Hellcat dominates at speed: faster, better roll rate, superior dive, and the ability to disengage at will. This was the fight the Hellcat was designed for and the fight American doctrine mandated.
Dive attack from altitude advantage
F6F-5
The Hellcat's robust structure, superior dive speed, and devastating six-gun armament make it lethal in diving attacks. The Zero cannot follow in the dive without risking structural failure.
Head-on merge
F6F-5
The Hellcat's armor can absorb hits while its six .50-calibers shred the unprotected Zero. A head-on pass favors the more rugged aircraft decisively.
Escort of strike package
F6F-5
The Hellcat's speed, endurance, and combat persistence make it a far superior escort fighter. It can protect bombers while engaging interceptors without concern for fuel or ammunition depletion.
Surprise bounce by the enemy
F6F-5
Even when bounced, the Hellcat pilot can absorb hits, dive away at high speed, and reposition. A bounced Zero pilot, with no armor and no self-sealing tanks, is in mortal danger from the first hit.
Extended combat (attrition fighting)
F6F-5
The Hellcat's ability to absorb damage and its generous ammunition supply (2,400 rounds) make it dominant in extended combat. The Zero's limited 20mm ammunition (200 rounds) and vulnerability to any hit make attrition fighting suicidal.
Interactive 3D Models
Performance Profile
Overall capability comparison across six combat dimensions
Head-to-Head Specifications
Key performance metrics compared side by side
Size Comparison
Both aircraft drawn to the same scale, the F6F-5 has 6.7ft greater wingspan and is 3.7ft longer
Performance Analysis
How each aircraft performs across key combat dimensions
Speed
WINNER: F6F-5The F6F-5 Hellcat achieved 380 mph at 23,400 feet, nearly 30 mph faster than the Zero at every altitude band. The massive 2,000-hp R-2800 engine gave the Hellcat an acceleration advantage as well, particularly in level flight and shallow climbs.
The A6M5 Zero's top speed of 351 mph at 19,685 feet was respectable for its weight class, but it could not match the Hellcat in any speed regime. Japanese pilots relied on maneuverability rather than speed to survive.
The Hellcat's 30 mph speed advantage was decisive. It meant Hellcat pilots could choose when to engage and when to disengage. A Hellcat could run down a fleeing Zero or break away from an unfavorable fight at will. This speed differential was the foundation of American tactical doctrine in the Pacific.
Climb Rate
WINNER: F6F-5The Hellcat climbed at 3,410 ft/min, excellent for a 12,000-pound fighter. Its zoom climb performance from high-speed passes was particularly impressive, allowing Hellcat pilots to regain altitude rapidly after diving attacks.
The Zero climbed at 3,150 ft/min, slightly less than the Hellcat on paper but exceptional given its light weight. At low to moderate speeds, the Zero could match or exceed the Hellcat in a sustained climb, and its lighter wing loading gave it an advantage in climbing turns.
Climb rate was surprisingly close between these two very different aircraft. The Hellcat's more powerful engine compensated for its much greater weight. In practical terms, the Hellcat had better zoom climb from high speed, while the Zero could sustain a climb at lower speeds. The difference was not decisive for either aircraft.
Maneuverability
WINNER: A6M5The Hellcat was more maneuverable than any previous American carrier fighter. At speeds above 250 knots, its roll rate exceeded the Zero's, and its control harmony was excellent. The Hellcat could sustain moderate G-loads in turning combat without the structural limitations that plagued the Zero.
The Zero's maneuverability was legendary, and justified. At speeds below 200 knots, the A6M could out-turn any Allied fighter by a wide margin. Its incredibly light wing loading (26 lbs/sq ft) gave it a turning radius that the Hellcat (38 lbs/sq ft) could never match. In a slow-speed turning fight, the Zero was king.
The Zero was the more maneuverable aircraft in the traditional sense, tighter turns, better instantaneous rate performance at low speed, and a responsiveness that felt almost supernatural to pilots who flew it. But the Hellcat's doctrine made this advantage largely irrelevant: American pilots were trained to never enter a slow-speed turning fight with a Zero. At the speeds where Hellcats fought (above 250 knots), the Zero's advantages diminished dramatically due to aileron stiffening.
Altitude Performance
EvenThe Hellcat's service ceiling of 37,300 feet was adequate for Pacific combat, where most engagements occurred between 15,000 and 25,000 feet. The R-2800 maintained excellent power through the typical combat altitude band.
The Zero's ceiling of 38,520 feet was slightly higher than the Hellcat's, reflecting its lighter weight. The Zero performed well at altitude, maintaining its maneuverability advantage even in thin air where heavier fighters became sluggish.
The Zero had a marginally higher ceiling, but this was of limited tactical significance. Most Pacific air combat occurred well below either aircraft's ceiling. The relevant comparison is performance in the 15,000-25,000 foot band, where the Hellcat's power advantage was more significant than the Zero's altitude edge.
Range & Endurance
WINNER: F6F-5The Hellcat had an exceptional ferry range of 1,530 nautical miles with drop tanks, giving it the ability to escort strike packages deep into enemy-held territory. Its combat radius was approximately 340 miles, adequate for carrier strike operations.
The Zero's extraordinary range of 1,194 nautical miles on internal fuel was achieved through extreme weight savings and a remarkably efficient engine. This range was the Zero's primary strategic advantage, it allowed Japanese carriers to strike from distances that American planners considered impossible in 1941.
Both aircraft had excellent range for carrier fighters. The Hellcat's slightly greater range with external tanks was a modest advantage, but the Zero's ability to achieve nearly comparable range on internal fuel alone, in an aircraft less than half the Hellcat's weight, was an remarkable engineering achievement.
Dive Speed
WINNER: F6F-5The Hellcat was a superb diver. Its heavy weight and robust structure allowed it to accelerate rapidly in a dive and maintain control at speeds approaching 450 mph. The aircraft's dive flaps provided additional speed control when needed.
The A6M5's thickened wing skinning improved its diving limitations over earlier Zero variants, but the aircraft remained structurally limited to about 410 mph in a dive. The original A6M2 had a dangerous tendency to shed its wing fabric above 350 mph.
The Hellcat dominated in the dive by a wide margin. This was the foundation of American tactics: dive from altitude, fire a high-speed burst, and zoom back up. The Zero simply could not follow a Hellcat in a steep dive without risking structural failure. This single advantage gave Hellcat pilots a universal escape option in every engagement.
Roll Rate
WINNER: F6F-5The Hellcat's roll rate was excellent above 200 knots and remained effective at high speeds where many fighters became sluggish. At 300 knots, the Hellcat could snap into a roll that the Zero simply could not follow.
The Zero had good roll rate at low speeds but suffered from severe aileron stiffening above 200 knots. This was a critical design flaw that American pilots exploited relentlessly, a hard rolling maneuver at speed could break contact with a pursuing Zero.
At the combat speeds where Hellcats engaged (250+ knots), the Hellcat's roll rate was dramatically superior. This was one of the key weaknesses identified from testing the captured Akutan Zero and became central to American defensive tactics. If a Zero was on your tail, a hard roll and dive at speed would create separation that the Zero could not close.
Cockpit Visibility
EvenThe Hellcat provided good visibility for a radial-engined fighter. The pilot sat high in the cockpit, and the large bubble canopy gave reasonable all-round visibility, though the massive R-2800 engine restricted forward-downward view.
The Zero offered excellent visibility from its relatively spacious cockpit. The low cowling of the Sakae radial engine and the clean canopy provided outstanding forward and lateral views. Rearward visibility was somewhat restricted by the fuselage spine.
Both aircraft offered adequate to good visibility. The Zero had a slight edge in forward visibility due to its smaller engine cowling, while the Hellcat's higher seating position gave better vertical sight lines. Neither aircraft had a decisive visibility advantage.
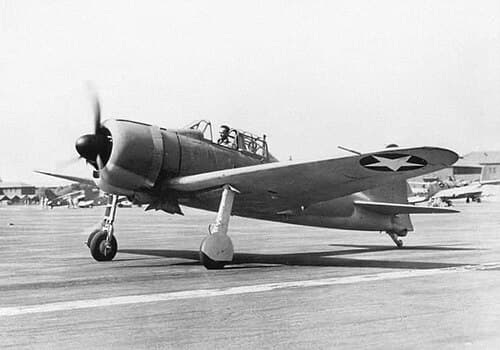
Photo Gallery, 14 Photos
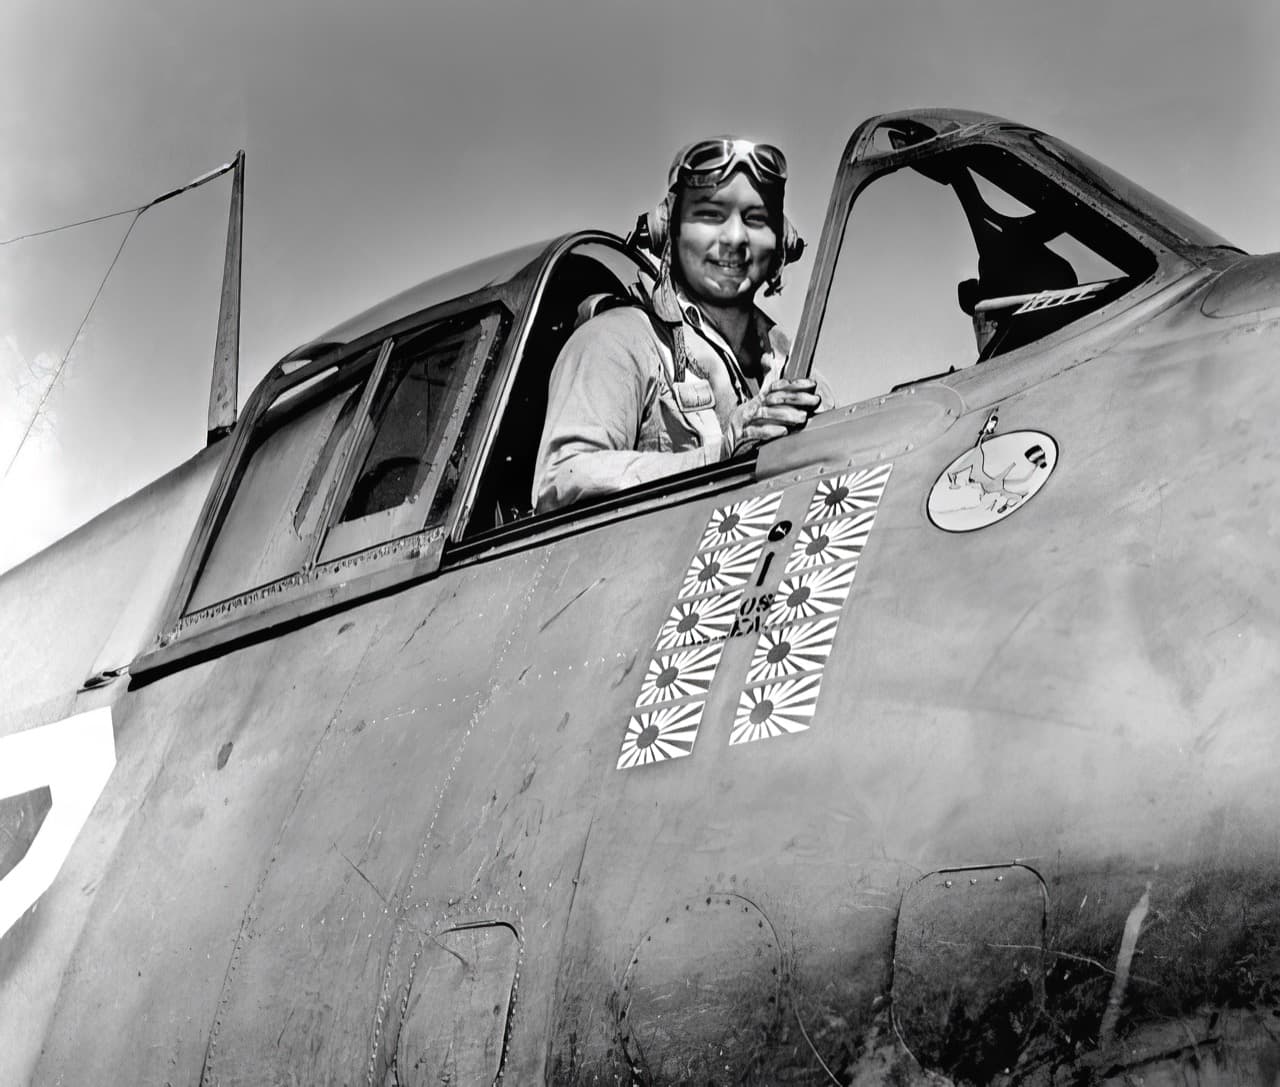
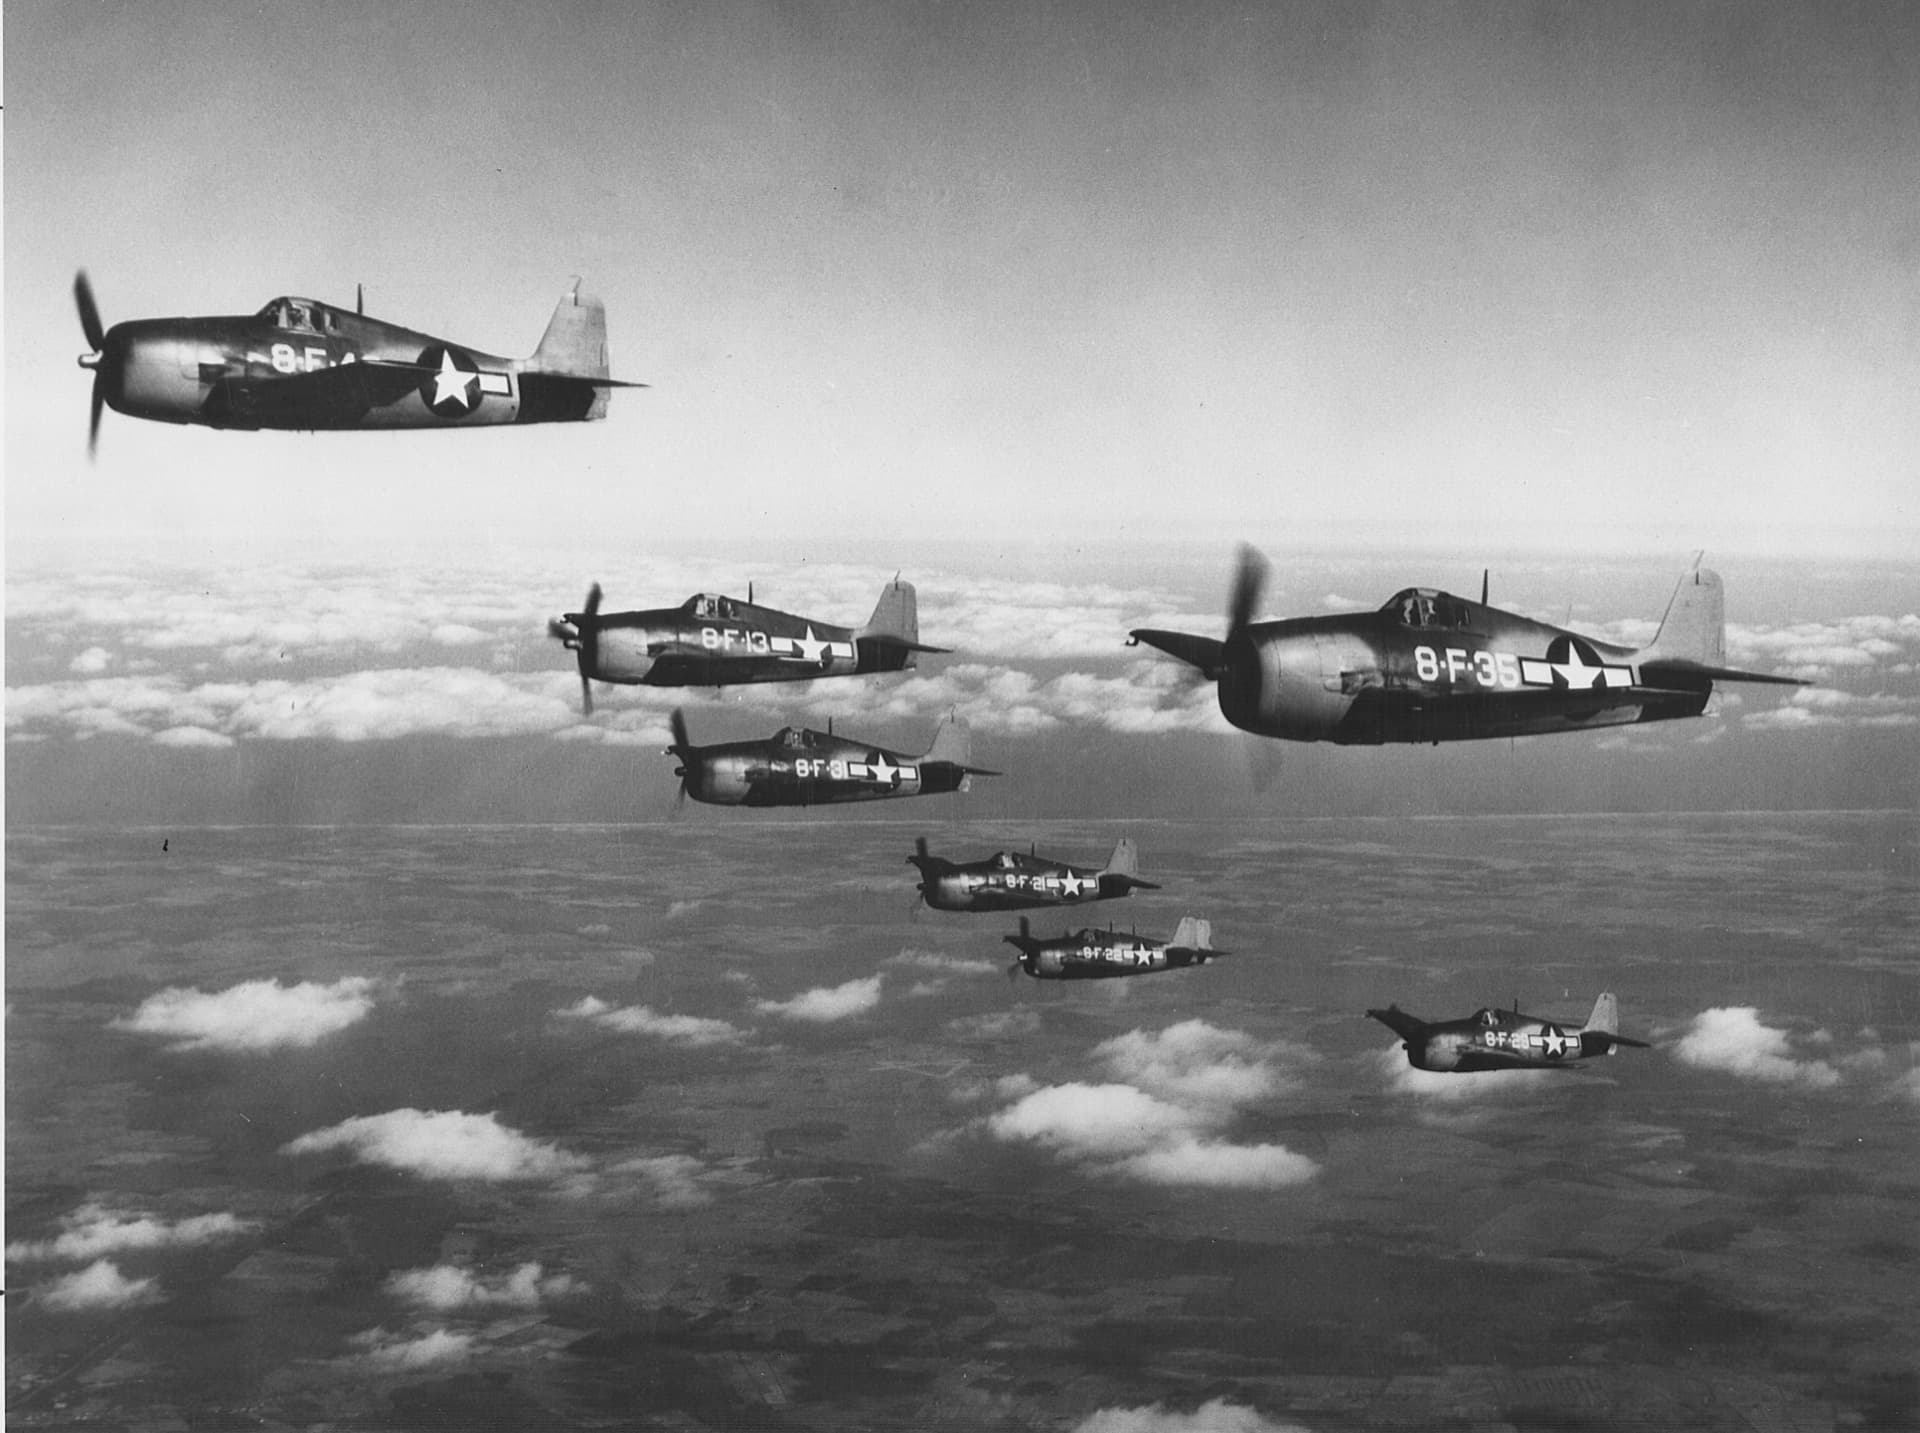
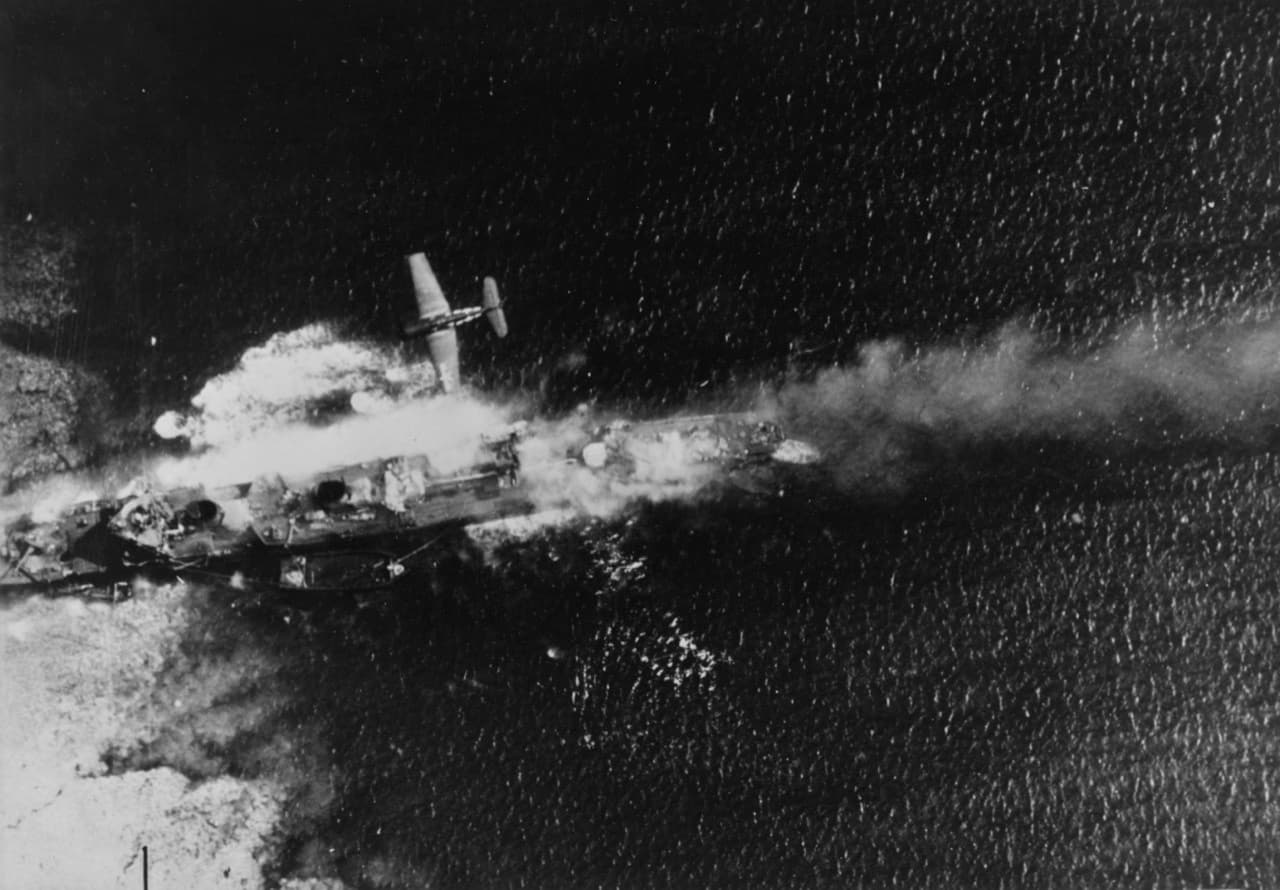
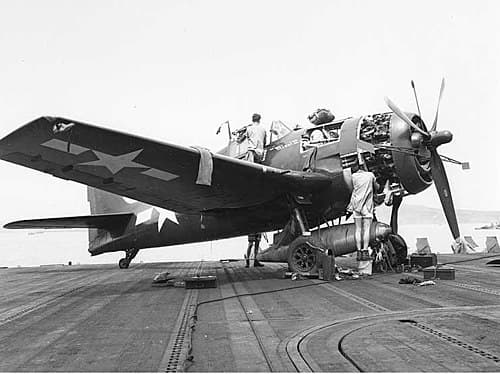
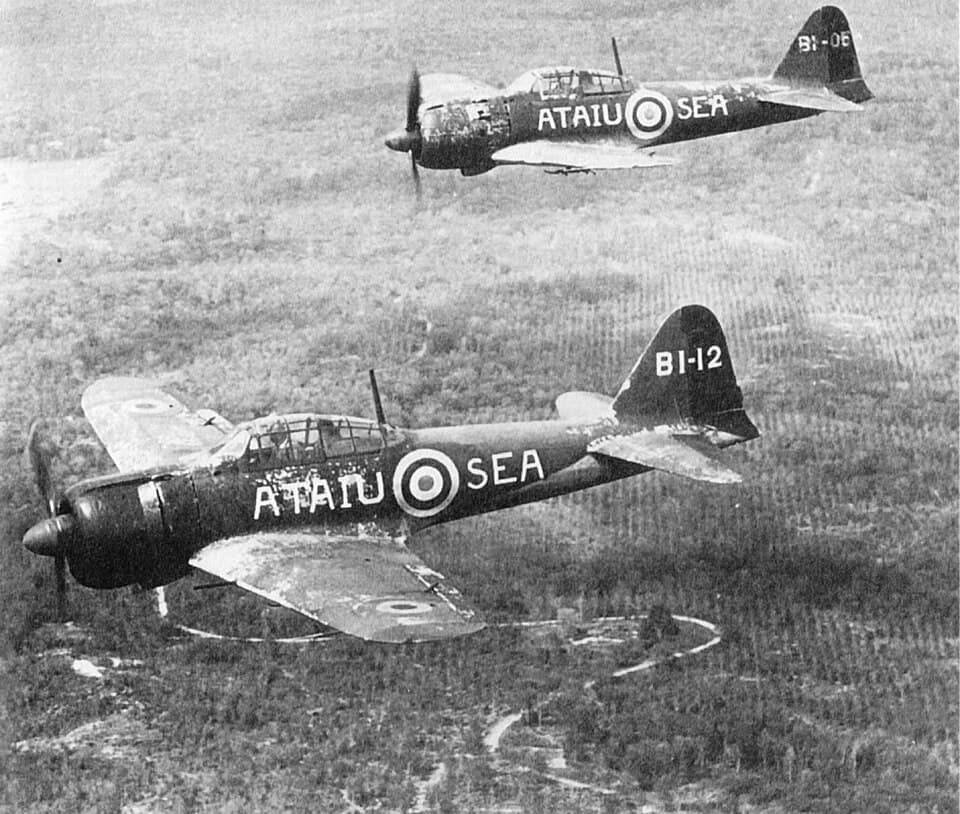
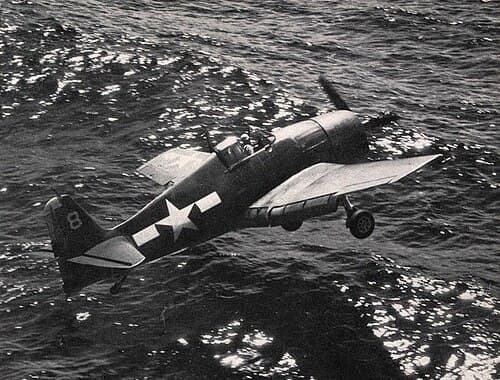
Click any photo to enlarge · 14 photos
Historical Context
The strategic backdrop that shaped both aircraft
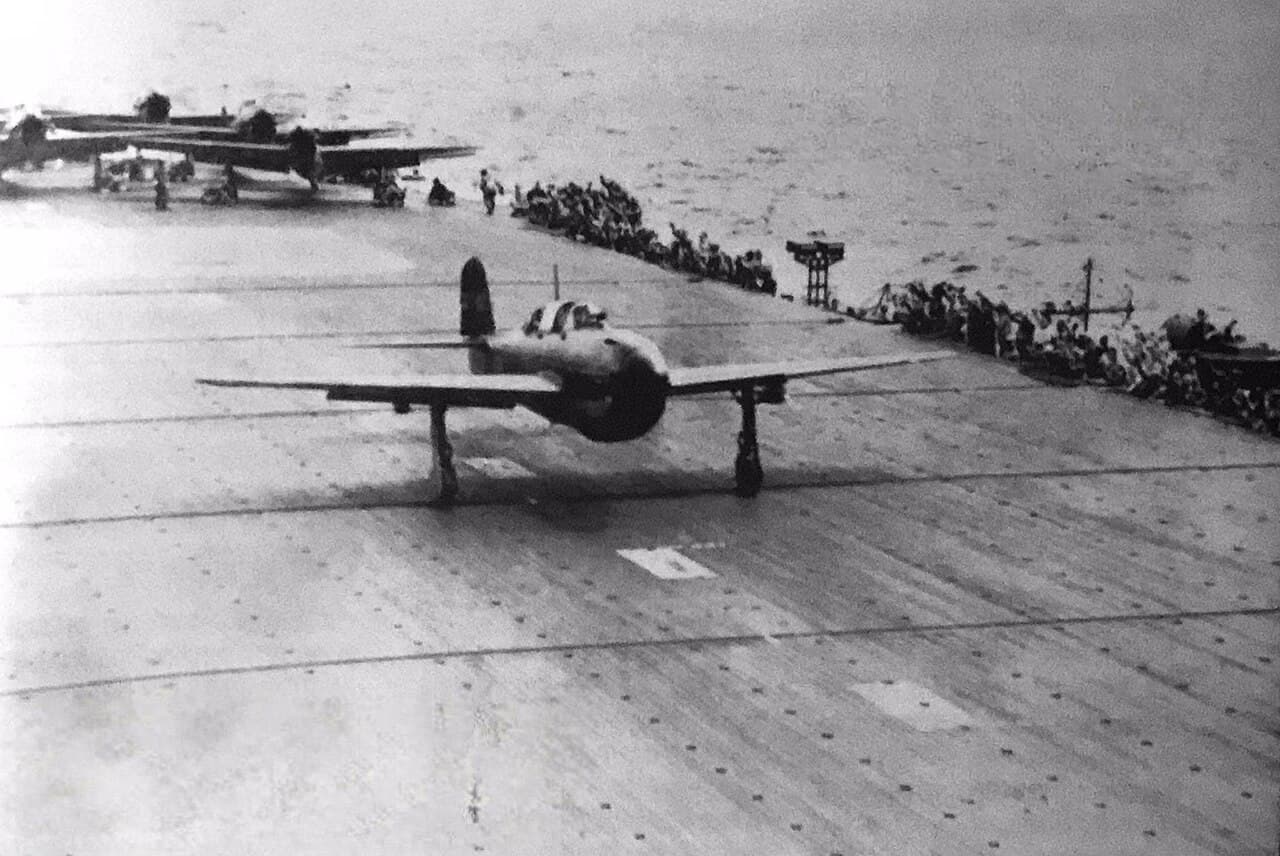
The F6F Hellcat versus A6M Zero matchup is the story of how the United States systematically reversed the most shocking air combat humiliation in its history. In the first six months of the Pacific War, the Zero achieved a mystique that bordered on invincibility, a lightweight, ultra-maneuverable fighter that outclassed everything the Allies could put in the air. American pilots flying Wildcats, P-40s, and P-39s died in alarming numbers trying to dogfight an aircraft that could out-turn, out-climb, and out-range anything they flew.
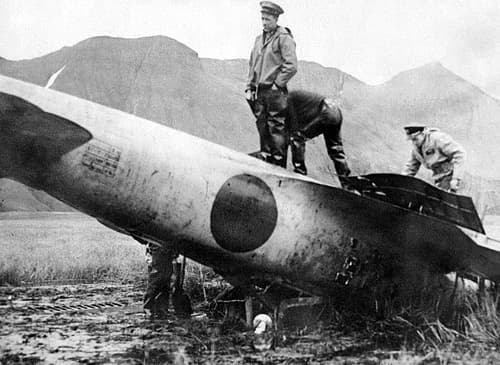
The turning point came in June 1942, when a nearly intact A6M2 Zero was recovered from Akutan Island in the Aleutians after its pilot crash-landed and died. The "Akutan Zero" was painstakingly restored and subjected to exhaustive flight testing at NAS North Island. For the first time, American engineers had hard data on the Zero's performance envelope, and more critically, its weaknesses. The Zero was fast and agile, but it was also fragile, unprotected, and bled energy in high-speed rolls. Its ailerons stiffened dramatically above 200 knots, making it sluggish in rolling maneuvers at the speeds where American fighters operated best.
Grumman's design team, led by chief engineer Bill Schwendler, built the F6F Hellcat around these findings. The aircraft was designed from the outset not as a general-purpose fighter but as a specific answer to the Zero. The massive Pratt & Whitney R-2800 Double Wasp engine, producing 2,000 horsepower, gave the Hellcat a 30 mph speed advantage at every altitude. Armor plate, self-sealing fuel tanks, and a rugged structure ensured the Hellcat could absorb punishment that would destroy a Zero. Six .50-caliber machine guns with 2,400 rounds of ammunition delivered a weight of fire that could shred the Zero's unarmored airframe in a fraction of a second.
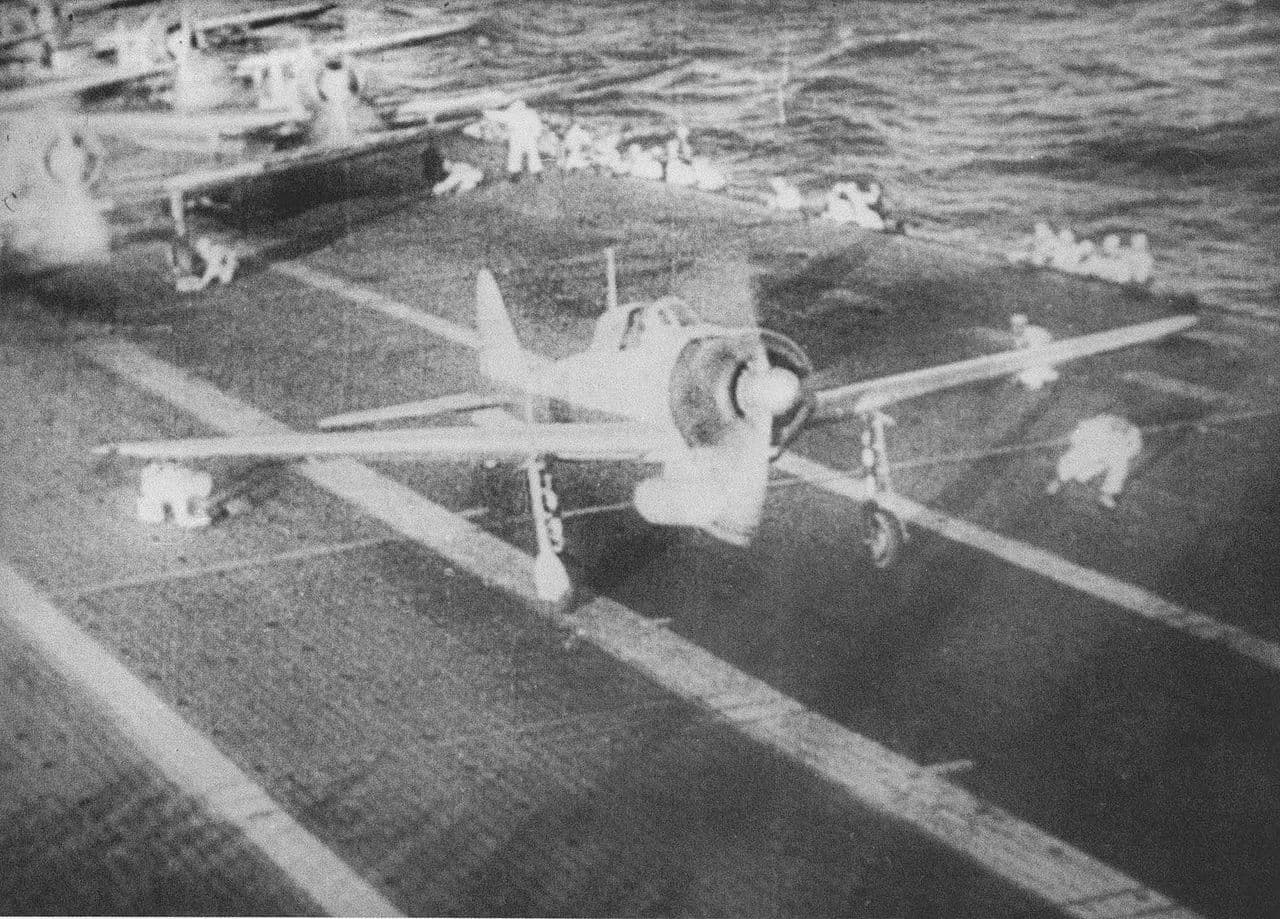
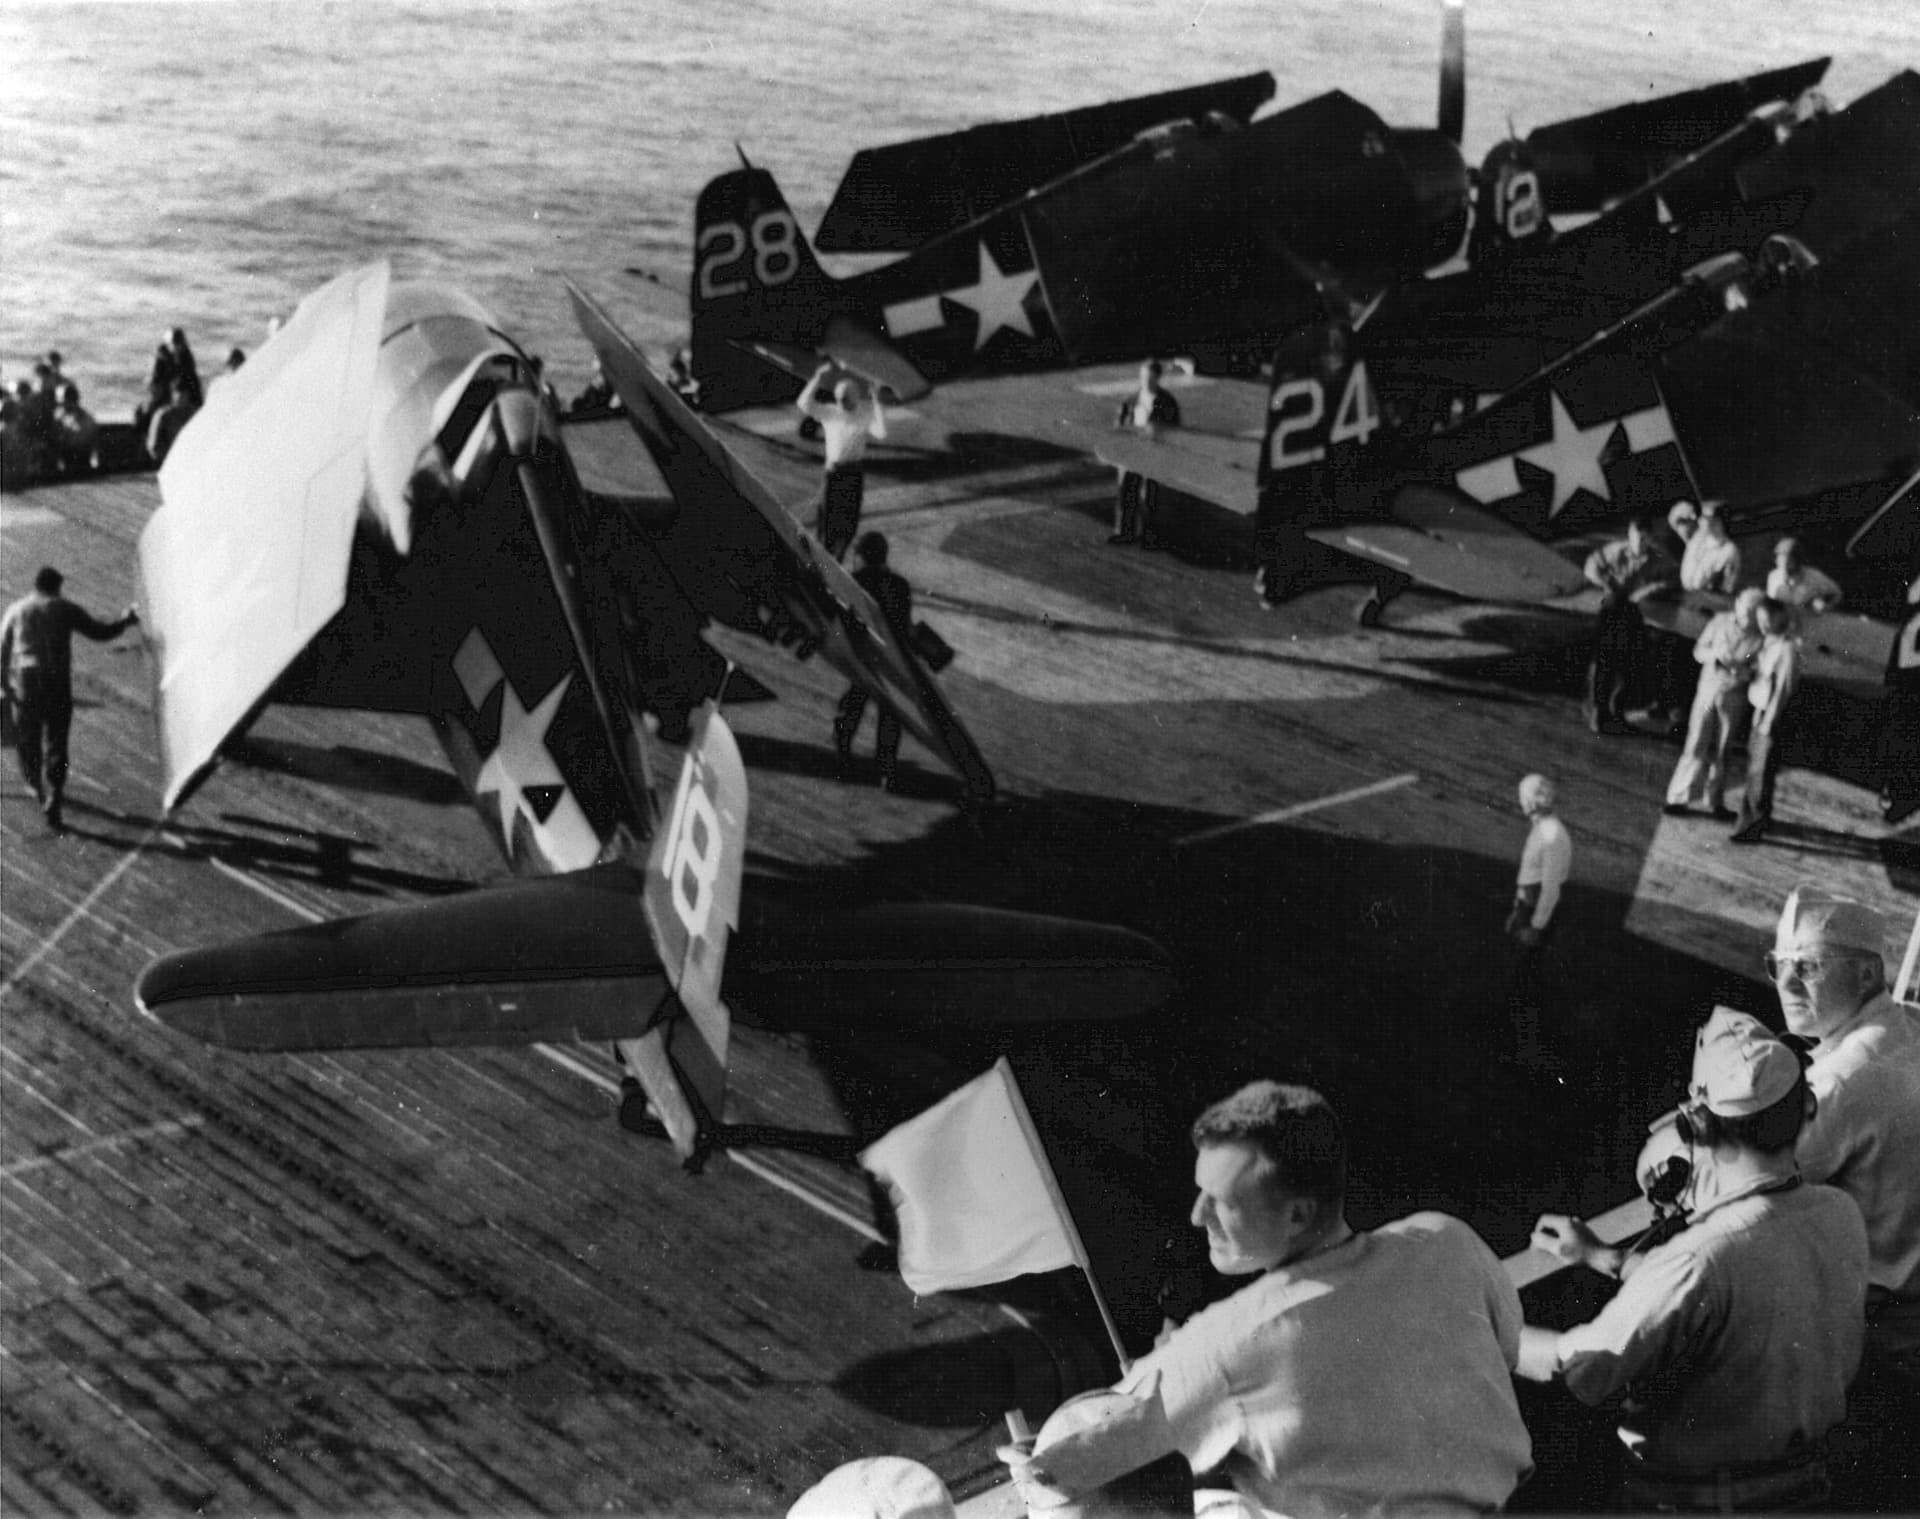
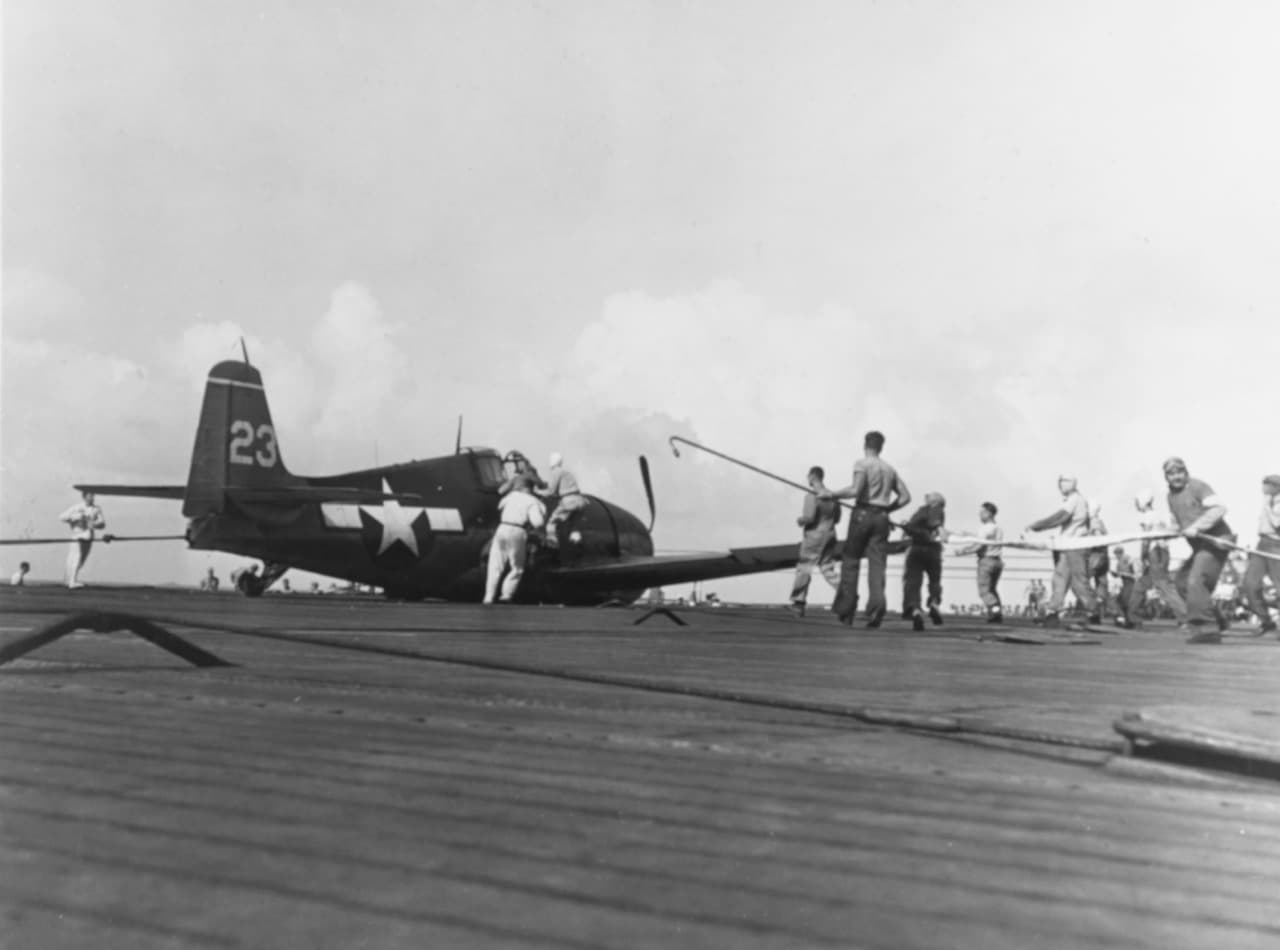
The Hellcat first entered combat in September 1943 with VF-5 aboard USS Yorktown during strikes on Marcus Island. From that moment, the dynamics of Pacific air combat changed permanently. The Zero was no longer the hunter, it was the hunted. Over the next two years, Hellcats would account for 5,168 of the 6,477 air-to-air kills claimed by U.S. Navy and Marine Corps pilots, establishing the Hellcat as the most successful carrier fighter in aviation history.
The Japanese recognized the threat but were powerless to counter it. The A6M5 variant introduced in late 1943 added thicker wing skinning for faster diving and belt-fed 20mm cannons with improved reliability, but the fundamental design constraints of an airframe that traced its lineage to 1937 could not be overcome. Without armor or self-sealing tanks, every engagement was existential, a single hit could be fatal. Against the Hellcat's six guns, the odds were overwhelming.
Notable Combat Encounters
Key engagements where these aircraft faced each other in combat
The F6F Hellcat saw its first combat action when VF-5 from USS Yorktown struck the Japanese garrison on Marcus Island. Hellcats flew escort for TBF Avengers and SBD Dauntlesses. Japanese interceptors, including A6M Zeros, attempted to defend the island but were outmatched by the new American fighter.
Outcome
Hellcat pilots claimed their first aerial victories without loss. The operation validated the new fighter in combat conditions.
First combat for the F6F Hellcat. Confirmed the aircraft performed as designed against Japanese opposition.
During Operation Galvanic, Hellcats from multiple carriers provided air cover for the amphibious assault on Tarawa. Japanese Zeros from nearby bases attempted to interfere with the landings. The air battles over Tarawa were among the first large-scale encounters between Hellcats and Zeros.
Outcome
Hellcats established local air superiority rapidly, shooting down numerous Japanese aircraft while sustaining light losses. The Japanese were unable to mount effective air opposition to the landing.
Demonstrated the Hellcat's ability to achieve and maintain air superiority over contested beachheads, a capability that would prove decisive throughout the Pacific campaign.
Operation Hailstone, the massive carrier strike on the Japanese fortress of Truk, saw Hellcats sweep the airfields and engage Zeros and other fighters in the largest air battle of the Central Pacific campaign to date. Over 30 Hellcats from Task Force 58 engaged Japanese defenders in rolling dogfights over the lagoon.
Outcome
U.S. forces destroyed approximately 270 Japanese aircraft (most on the ground) and sank 12 warships and 32 merchant vessels. Hellcat losses were minimal, roughly 25 aircraft lost to all causes.
Truk shattered the myth of the "Gibraltar of the Pacific." The Hellcat's dominance over the Zero was now comprehensive and undeniable.
The "Great Marianas Turkey Shoot", the aerial phase of the Battle of the Philippine Sea, was the most lopsided carrier air battle in history. Japanese Admiral Ozawa launched 373 aircraft in four major raids against Task Force 58. Hellcats, vectored by radar-directed fighter control, intercepted the incoming waves at altitude advantage.
Outcome
Japanese forces lost approximately 315 aircraft in aerial combat and another 65 on their carriers. American losses were 23 aircraft in air-to-air combat. The Japanese carrier aviation arm was effectively destroyed as a fighting force.
The defining engagement of the Hellcat-Zero rivalry. The 19:1 kill ratio demonstrated the complete dominance of the Hellcat over the Zero when combined with American tactics, radar, and pilot training.
The Battle of Leyte Gulf, the largest naval battle in history, saw Hellcats from multiple carrier task groups engaging Japanese land-based and carrier-based aircraft including A6M5 Zeros over a three-day period. Many of the Japanese pilots were minimally trained replacements.
Outcome
Japanese naval aviation suffered catastrophic losses. The battle marked the end of the Imperial Japanese Navy as an effective fighting force. Hellcats accounted for the majority of Japanese aircraft destroyed in air combat.
Leyte Gulf confirmed that the Zero, even in its improved A6M5 form, was fatally outclassed by the Hellcat. Many of the Japanese aircraft that attacked during the battle were flown by pilots with fewer than 100 flying hours.
Armament & Firepower
Primary weapons, munitions capacity, and destructive capability
F6F-5 Loadout
The F6F-5 Hellcat carried six .50-caliber M2 Browning machine guns with 400 rounds per gun (2,400 total). The six guns delivered a combined rate of fire of approximately 4,800 rounds per minute, creating a devastating cone of fire that could destroy an unarmored aircraft in a fraction of a second. The .50 BMG round combined excellent ballistic properties with incendiary capability, making it particularly lethal against the Zero's unprotected fuel tanks.
A6M5 Loadout
The A6M5 carried two 20mm Type 99 Mark 2 cannons with 100 rounds per gun and two 7.7mm Type 97 machine guns with 700 rounds per gun. The 20mm cannons were powerful but had low muzzle velocity, limited range, and a pronounced arc that made accurate shooting at distance difficult. The 7.7mm machine guns were largely ineffective against the Hellcat's armor and self-sealing tanks.
Air-to-Air Verdict
The Hellcat's six .50-caliber guns were devastating against the Zero's unprotected structure, a one-second burst could destroy an A6M. The Zero's 20mm cannons could theoretically penetrate the Hellcat's armor, but their low velocity, limited ammunition, and poor accuracy at range made effective hits difficult. The 7.7mm machine guns were functionally useless against the Hellcat.
Ground Attack Verdict
The Hellcat was significantly more capable in ground attack, carrying up to 2,000 lbs of bombs or six 5-inch HVAR rockets. The Zero could carry only 264 lbs of bombs, a token ground attack capability that reflected its design priority on air-to-air performance.
The armament comparison starkly illustrates the different design philosophies. The Hellcat's six .50-caliber guns were perfectly suited to destroying the Zero, their high rate of fire, generous ammunition supply, and excellent ballistic properties meant that even a brief burst was typically lethal against an unarmored target. American pilots had enough ammunition for extended engagements and multiple targets per sortie.
The Zero's armament was a study in compromises. The 20mm Type 99 cannons were theoretically powerful, but their low muzzle velocity (about 600 m/s versus the .50 BMG's 890 m/s) and limited range meant they were only effective in close-range snap shots. The 100-round drum magazines were expended quickly, leaving the pilot with only the anemic 7.7mm guns. Against the Hellcat's armor plate and self-sealing tanks, the 7.7mm rounds were essentially harmless.
The asymmetry was devastating: the Hellcat could destroy a Zero with a brief burst from any angle, while the Zero needed sustained, accurate 20mm fire to have any chance of downing a Hellcat. In the high-speed, slashing attacks that characterized American tactics, the Zero pilot rarely had the time or the shot geometry to bring his cannons to bear effectively.
Survivability & Protection
Armor, self-sealing tanks, pilot protection, and structural resilience
F6F-5 Protection
The F6F-5 Hellcat carried approximately 212 pounds of armor plate protecting the pilot, engine, and oil system. An armored bulkhead behind the pilot, armored windscreen, and strategically placed armor around the oil cooler and engine accessories gave the Hellcat the ability to absorb punishment that would have been catastrophic for most fighters. The aircraft's rugged Grumman construction, often called "Grumman Iron Works", added additional passive protection through sheer structural strength.
A6M5 Protection
The A6M Zero carried no pilot armor and no self-sealing fuel tanks in any production variant. This was a deliberate design choice: Japanese naval aviation doctrine prioritized range and maneuverability over protection, and the weight savings from omitting armor (estimated 100+ lbs) were critical to the Zero's exceptional performance. This choice was catastrophically costly in combat against .50-caliber armed American fighters.
Pilot Protection
The contrast in pilot protection was absolute. The Hellcat pilot sat behind armor plate that could stop 7.7mm rounds and deflect fragments from 20mm near-misses. The Zero pilot had no protection whatsoever, any hit to the cockpit area was likely to wound or kill the pilot. This asymmetry was reflected in pilot casualty rates: Japanese fighter pilots were killed at a rate many times higher than their American counterparts.
Structural Durability
The Hellcat was extraordinarily rugged. Its heavy structure, designed to withstand carrier deck landings, could absorb severe battle damage and continue flying. Hellcats returned to their carriers with engine cylinders shot away, control surfaces shredded, and fuselage sections riddled with holes. The Zero, built to extreme weight specifications, was structurally fragile, cannon hits that a Hellcat would shrug off were often fatal to the Zero's airframe.
Crash Survivability
In a forced landing or ditching, the Hellcat's rugged construction and the pilot's armor protection gave significantly better survivability. The Zero's unprotected fuel tanks, positioned close to the pilot, made fire a severe hazard in any crash or forced landing. Many Zero pilots who survived being shot down were killed by the resulting fire rather than the initial damage.
The survivability comparison between the Hellcat and Zero is not merely lopsided, it represents two fundamentally incompatible design philosophies colliding in combat. The Zero was designed for an era of Japanese naval aviation that assumed combat would be decided by offensive excellence, kill the enemy before he kills you. The Hellcat was designed for a war of attrition where the ability to survive damage and keep fighting was as important as the ability to inflict it.
In practice, this meant that any combat engagement between a Hellcat and a Zero was existentially asymmetric. The Hellcat pilot could absorb hits from the Zero's 7.7mm guns without serious damage, and even 20mm cannon hits, while dangerous, were survivable if they didn't hit a critical system. The Zero pilot had no such margin. A single .50-caliber round in the fuel tank would likely cause a fire that could not be extinguished. A burst into the engine could not be survived if it penetrated the cockpit.
This survivability asymmetry was the single most important factor in the Hellcat's dominance. It didn't just mean that Hellcats survived more often, it meant that experienced American pilots accumulated combat hours and wisdom while experienced Japanese pilots were killed and replaced by progressively less capable novices. The survivability gap created a training and experience gap that widened relentlessly throughout the war.
Tactical Doctrine & Evolution
How pilots were trained to fight in each aircraft and how tactics adapted over time
F6F-5 Tactics
The tactical doctrine developed for the Hellcat was perhaps the most effective fighter doctrine of the war, a systematic, disciplined approach that turned the Hellcat's strengths into an unbeatable combination while ruthlessly denying the Zero any chance to employ its own advantages.
The core principle was energy fighting: maintain speed above 250 knots at all times during combat. At these speeds, the Hellcat's roll rate exceeded the Zero's, its dive performance was superior, and its zoom climb was better. The standard attack pattern was the "overhead", approach from above, dive at high speed, deliver a short burst from the six .50-caliber guns, and zoom climb back to altitude without slowing down. If the first pass missed, the Hellcat pilot would regain altitude and set up for another pass. At no point would he slow down to the speeds where the Zero's maneuverability became dominant.
The "Thach Weave," developed by Commander Jimmy Thach before the Hellcat even existed, remained a core defensive tactic. Two Hellcats flying in a weaving pattern could protect each other by presenting a difficult deflection shot to any pursuing Zero while always having one aircraft in position to reverse and attack. This mutual support doctrine was drilled relentlessly in training.
Fighter direction from carrier Combat Information Centers (CICs) was equally important. Radar-vectored interception allowed Hellcat formations to be positioned at altitude advantage before engaging incoming Japanese raids. This meant that nearly every engagement began with the Hellcat in its ideal tactical position, fast, high, and diving. The Japanese rarely had this luxury.
A6M5 Tactics
Japanese fighter tactics with the Zero evolved relatively little during the war, constrained by the aircraft's limitations and the progressive loss of experienced pilots who might have developed new approaches. The core doctrine remained the turning fight, get close, use the Zero's superior maneuverability to gain a firing position, and destroy the enemy with the 20mm cannons.
Against early-war opponents like the P-40 and Wildcat, this approach was devastatingly effective. But against the Hellcat, it was increasingly futile. The standard Zero attack, a diving pass followed by a pull-up and reversal for a turning engagement, failed because the Hellcat would not reverse. It would simply continue its dive and extend away at speeds the Zero could not follow.
Japanese tactical responses were limited by the Zero's design constraints. Some experienced pilots adopted "ambush" tactics, using altitude advantage and surprise to deliver a single high-speed pass similar to American doctrine. But the Zero's limited dive speed and structural weakness at high velocity made this approach dangerous. Other pilots attempted head-on attacks, relying on the 20mm cannons to score a lucky hit on a closing Hellcat, but the Hellcat's robust structure could absorb punishment that would destroy the Zero.
By 1944, with experienced pilots increasingly rare, many Japanese units reverted to basic formation flying and hoped for the best. The kamikaze doctrine that emerged in October 1944 was, in a sense, an acknowledgment that conventional air combat against Hellcats was no longer tenable, if the Zero could not shoot down the enemy, it would fly into him.
How Tactics Evolved
The tactical evolution of the Hellcat versus Zero matchup is a case study in how doctrine and technology interact. The Americans developed a systematic approach that exploited every advantage the Hellcat possessed while denying the Zero any opportunity to use its strengths. The Japanese, despite individual brilliance and extraordinary courage, never developed an effective counter-doctrine.
In the early Hellcat engagements of late 1943, there was still some variety in combat outcomes. Experienced Japanese units, particularly those that had been fighting since 1941, could achieve reasonable exchange ratios by using tactical surprise and exploiting American mistakes. Some American pilots, despite their training, occasionally got drawn into turning fights and paid the price.
By mid-1944, the system had matured to devastating effectiveness. American carrier air groups operated with standardized procedures: radar-directed fighter control, disciplined formation flying, energy-fighting doctrine, and relentless post-mission debriefing that spread tactical lessons across the fleet. The result was the Philippine Sea "Turkey Shoot," where the system worked with industrial efficiency, Japanese raids were detected, intercepted at altitude advantage, and destroyed in the dive before they could reach the fleet.
The Japanese had no effective counter. Their radar technology was inferior, denying them the early warning that American CICs provided. Their communication systems were less reliable, making coordinated multi-group attacks difficult. Their pilot training system was producing replacements at a rate that could not keep pace with losses. And the Zero itself, however magnificent in 1941, was a dated design being asked to fight an opponent specifically engineered to exploit its every weakness.
The final evolution was the kamikaze. By converting Zeros into guided missiles, the Japanese acknowledged that conventional air combat against Hellcats was futile. The kamikaze was terrifying and effective, it inflicted heavy damage on the U.S. fleet, but it was also a confession of defeat in the air war. The Hellcat had rendered traditional Zero fighter operations obsolete.

What the Pilots Said
Firsthand accounts from the men who flew and fought these aircraft
On the F6F-5“The first time I saw a Zero in my gunsight, I gave him about a two-second burst and the whole airplane just came apart. There was nothing left. I had never seen anything like it, the airplane simply disintegrated. That's when I understood what six .50s did to an airplane with no armor.”
On the F6F-5“The Hellcat was not the most beautiful or the most agile fighter, but it was the most effective. It did everything well enough to win. You could take hits and keep fighting. You had enough ammunition to stay in the fight. And you were fast enough that you could always break away if things went bad.”
On the A6M5“When the Grumman fighters appeared, we knew the war had changed. Our Zero could still out-turn them, but they would not turn with us. They came from above, very fast, fired their guns, and climbed away. We could do nothing. If we tried to follow them in a dive, our wings would fail. If we tried to climb after them, they were already gone.”
On the A6M5“By 1944, most of the pilots I flew with had less than two hundred hours in the Zero. Some had less than one hundred. We were sent against pilots who had a thousand hours and an aircraft that was faster, stronger, and better armed. We were brave, but bravery alone could not overcome those odds.”
By the Numbers
Statistical combat performance and historical kill ratios
Exchange Ratio
The F6F Hellcat achieved the most lopsided kill ratio of any major fighter matchup in WWII. Hellcat pilots were credited with 5,168 aerial victories against a loss of approximately 270 in air-to-air combat, a ratio of 19:1 against all Japanese types.
Source: U.S. Navy Bureau of Aeronautics, compiled from all F6F claims against all Japanese aircraft types, 1943–1945
The 19:1 ratio is the most famous statistic in Pacific air combat, but it requires careful context. This figure encompasses all Japanese aircraft types, not just Zeros, Hellcats also fought Oscars, Tonys, Jacks, Franks, and various bomber types. Against the A6M specifically, the ratio was somewhat lower but still overwhelmingly in the Hellcat's favor.
The ratio also reflects the progressive collapse of Japanese pilot quality. In 1943, when the Hellcat first entered combat, Japanese units still included experienced pilots from the early war campaigns. By mid-1944, the loss of the prewar pilot cadre at Midway, the Solomons, and Rabaul had gutted Japanese training capabilities. Replacement pilots received drastically fewer flying hours before being committed to combat, some arriving at front-line units with as little as 100 hours total flight time against American pilots averaging 400-600 hours.
The American system of rotating experienced pilots back to training commands ensured that hard-won combat lessons were transmitted to new aviators. The Japanese system kept veteran pilots in the line until they were killed, captured, or too exhausted to fight, then replaced them with novices who had to learn the same lessons from scratch. This asymmetry in training doctrine was as devastating as the asymmetry in aircraft performance.
That said, the aircraft disparity was real and decisive even between equally skilled pilots. The Hellcat was faster, more rugged, better armed, and far more survivable. In simulated combat between experienced American test pilots flying captured Zeros against Hellcats, the Hellcat won consistently when flown to its doctrine. The Zero could only win if the Hellcat pilot made the mistake of entering a slow-speed turning fight, which trained Hellcat pilots were explicitly ordered never to do.
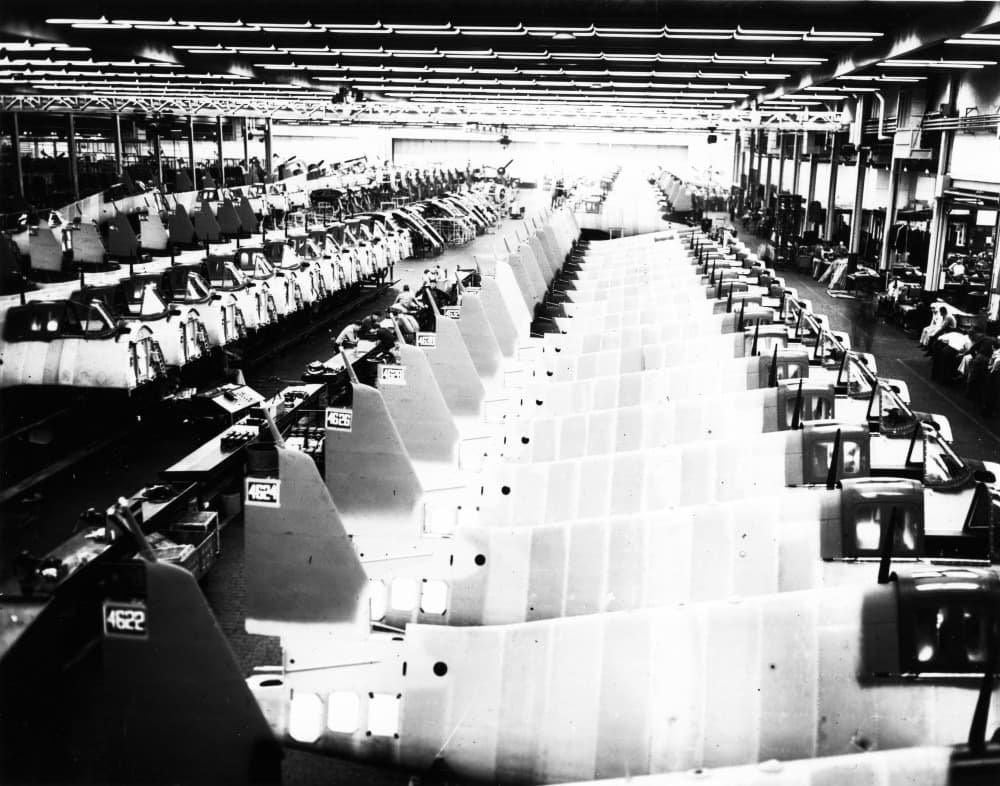
Production & the Numbers Game
How industrial output shaped the strategic balance
12,275
F6F-5 Built
10,939
A6M5 Built
The production comparison reveals a paradox: the Zero was produced in roughly comparable numbers to the Hellcat, yet the Japanese were perpetually short of fighters while the Americans had a surplus. The answer lies in attrition rates and replacement capacity.
The Hellcat's survivability meant that a higher percentage of its production went to expanding the fleet rather than replacing losses. Self-sealing tanks, pilot armor, and rugged construction ensured that damaged Hellcats could be repaired and returned to service, and that damaged pilots survived to fly again. The Zero's lack of protection meant that combat damage was usually fatal to both aircraft and pilot, every loss required a complete replacement.
American industrial capacity allowed not just numerical superiority but qualitative consistency. Every F6F-5 that came off the Bethpage line was built to the same standard, with the same engine, the same armament, and the same equipment. Japanese Zero production, spread across multiple factories with varying quality control and increasingly substituting lower-grade materials as raw material supplies dwindled, produced aircraft of declining quality from 1944 onward.
The most devastating production asymmetry, however, was in pilot training. The United States produced approximately 30,000 new naval aviators during the war, each receiving extensive training before entering combat. Japan's training pipeline, never large, was gutted by the loss of instructors in combat and the diversion of aviation fuel to front-line units. By late 1944, Japan was producing more Zeros than it had trained pilots to fly them competently.

Advantages in This Matchup
Where each aircraft holds the edge in a head-to-head encounter
F6F-5 Hellcat
- Faster at every altitude by approximately 30 mph
- Six .50-caliber guns devastating against unarmored targets
- Armor and self-sealing tanks provide massive survivability advantage
- Superior dive speed and acceleration for energy fighting tactics
- Better roll rate at combat speeds (above 250 knots)
- Rugged structure absorbs damage that would destroy a Zero
- Radar-directed fighter control maximizes tactical positioning
A6M5 Zero
- Superior low-speed turning radius and maneuverability below 200 knots
- Exceptional range on internal fuel, strategic flexibility
- Lighter weight with better power-to-weight ratio for climbing turns
- Smaller visual profile, harder to spot at distance
- 20mm cannons can penetrate Hellcat armor at close range
- Higher service ceiling by approximately 1,200 feet
- Lower stall speed, safer carrier operations in calm conditions
Final Verdict
Overall Winner
🇺🇸 Grumman F6F-5 Hellcat
United States
The F6F Hellcat's dominance over the A6M Zero was not marginal, it was comprehensive and systematic. This was not a contest between equals where circumstances determined the outcome. This was a case of an aircraft purpose-built to exploit every weakness in its opponent's design, backed by a tactical doctrine that maximized its own strengths while denying the enemy any opportunity to use his.
The Zero's only clear advantage, low-speed turning maneuverability, was rendered tactically irrelevant by American doctrine that forbade Hellcat pilots from entering the Zero's preferred combat regime. The "never turn with a Zero" rule was not timidity; it was the rational recognition that the Hellcat had overwhelming advantages in every other dimension of air combat. Why accept a 50-50 fight in the Zero's element when you could fight at 90-10 odds in your own?
The 19:1 kill ratio reflects not just aircraft superiority but the compound effect of multiple American advantages: better aircraft, better training, radar-directed interception, numerical superiority, and the devastating feedback loop of survivability, Hellcat pilots who took damage survived to fight again and gained experience, while Zero pilots who took damage died and were replaced by novices.
Japan's failure was not in the Zero's design, which was brilliant for its era, but in the inability to adapt when the rules changed. The same design philosophy that made the Zero supreme in 1941 made it fatally vulnerable in 1944. By sacrificing protection for performance, Japan bet everything on offensive superiority. When that bet failed against the Hellcat's armor and speed, there was no fallback.
The Hellcat versus Zero matchup is ultimately a story about systems defeating individual excellence. The Zero was arguably the more elegant design, lighter, more efficient, capable of extraordinary feats in the hands of a master pilot. But the Hellcat was the more effective weapon of war, because war is not won by individual excellence. It is won by the relentless application of systemic advantage, and the F6F Hellcat was the embodiment of that principle.
Theaters of Operation
Shared Theaters
F6F-5 Only
A6M5 Only